Background
This is a continuation of Part 1 of this tutorial. In this part, we will cover the text tool, alignment, and working with imported vector graphics in Sketch.
Text and alignment
Ok, let's open the Insert menu and write some text!

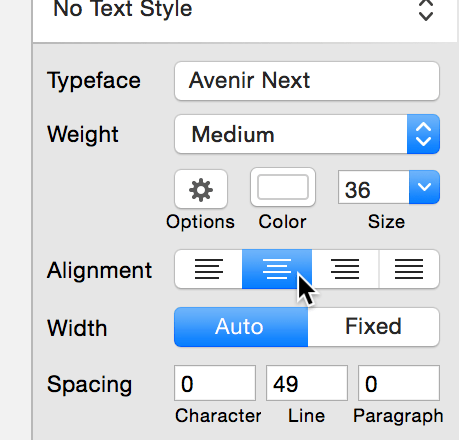
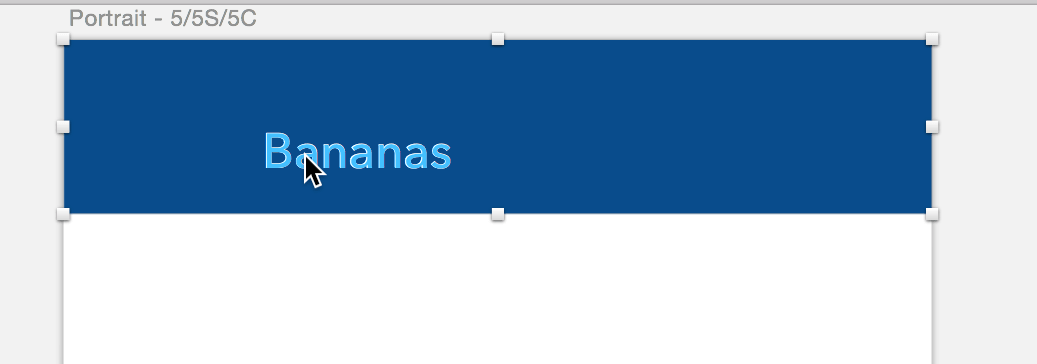
I wrote "Bananas". With the text selected, look at the Inspector on the right hand side of your screen. Make the font size 36, text alignment center, and fill color white.
As you can see, the text is not centered relative to the rectangle. To fix that, hold down Shift and select both the rectangle and the text at the same time.
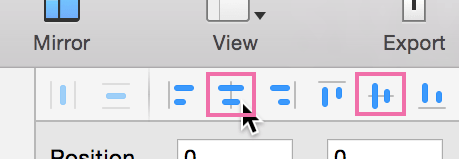
Next, locate the Align buttons at the top of the Inspector and select the two I've outlined below. These are horizontal align and vertical align.
Now let's add some text to the white section of the page. I wrote "There's always money in the banana stand."
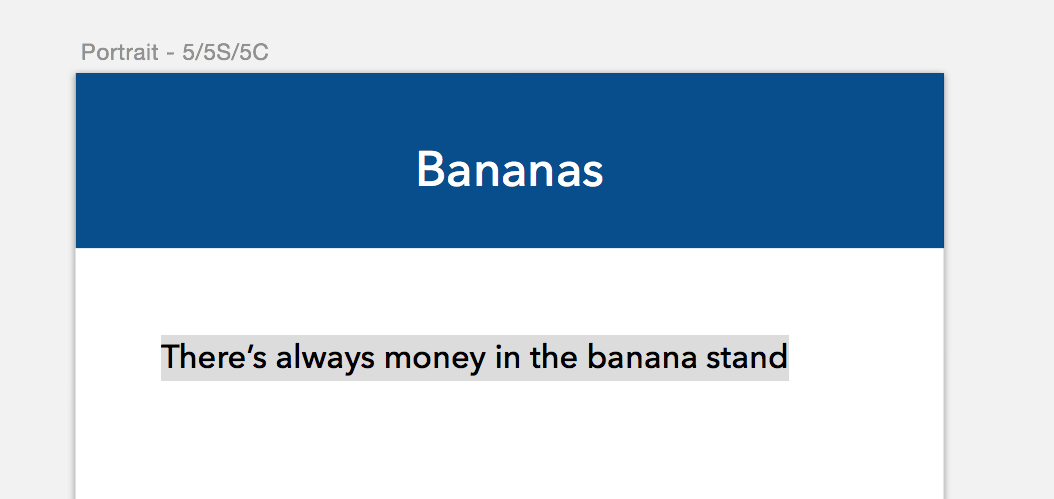
I used size 24 Avenir, aligned center. Make sure to horizontally align it to the center of the artboard in the align settings.
Importing vectors
Let's learn how to import vector files and edit them. I downloaded a cute monkey icon designed by Will Deskins on The Noun Project. Click here to download the SVG directly. (Remember to give credit in your projects according to the guidelines on The Noun Project!)
Once you have the SVG file downloaded and unzipped, drag it straight in to your Sketch artboard.

With the icon selected, let's do a little investigation in the Layers menu on the left of your screen. This SVG is contained within the layer group called "noun_59767_cc". If you click the arrow to expand it, you will see three sublayers called Layer_1, Layer_2, and Layer_3 as well as some text layers for artist credit.

Since I've given credit to the artist in this tutorial, I'm removing the embedded text layers by hitting delete. When you use the work of others, make sure you always give credit or pay for the artwork when you download it.
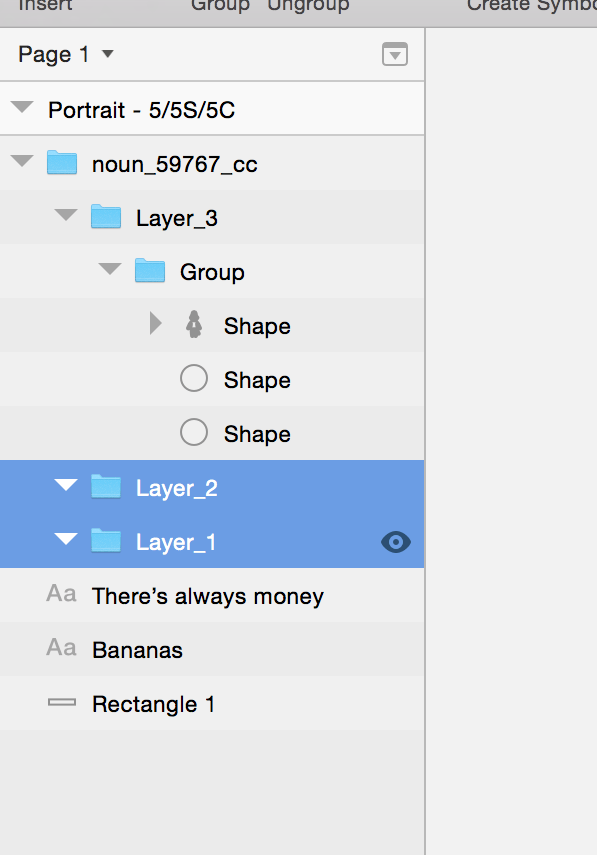
Now it's time to do some detective work. I always do this when importing vector files to clean up empty and unecessary layers. With Layer_1 and Layer_2 selected, notice that the layers are empty and can be deleted.

If you expand Layer_3, you will see that this is where the core paths of the icon are.
With these three layers selected, you can change the fill or the border color. I changed the fill to #90B8DC. Note: If you select the parent group ("Group"), Sketch won't let you change the fill color. You must select the three individual layers in the group to edit colors!
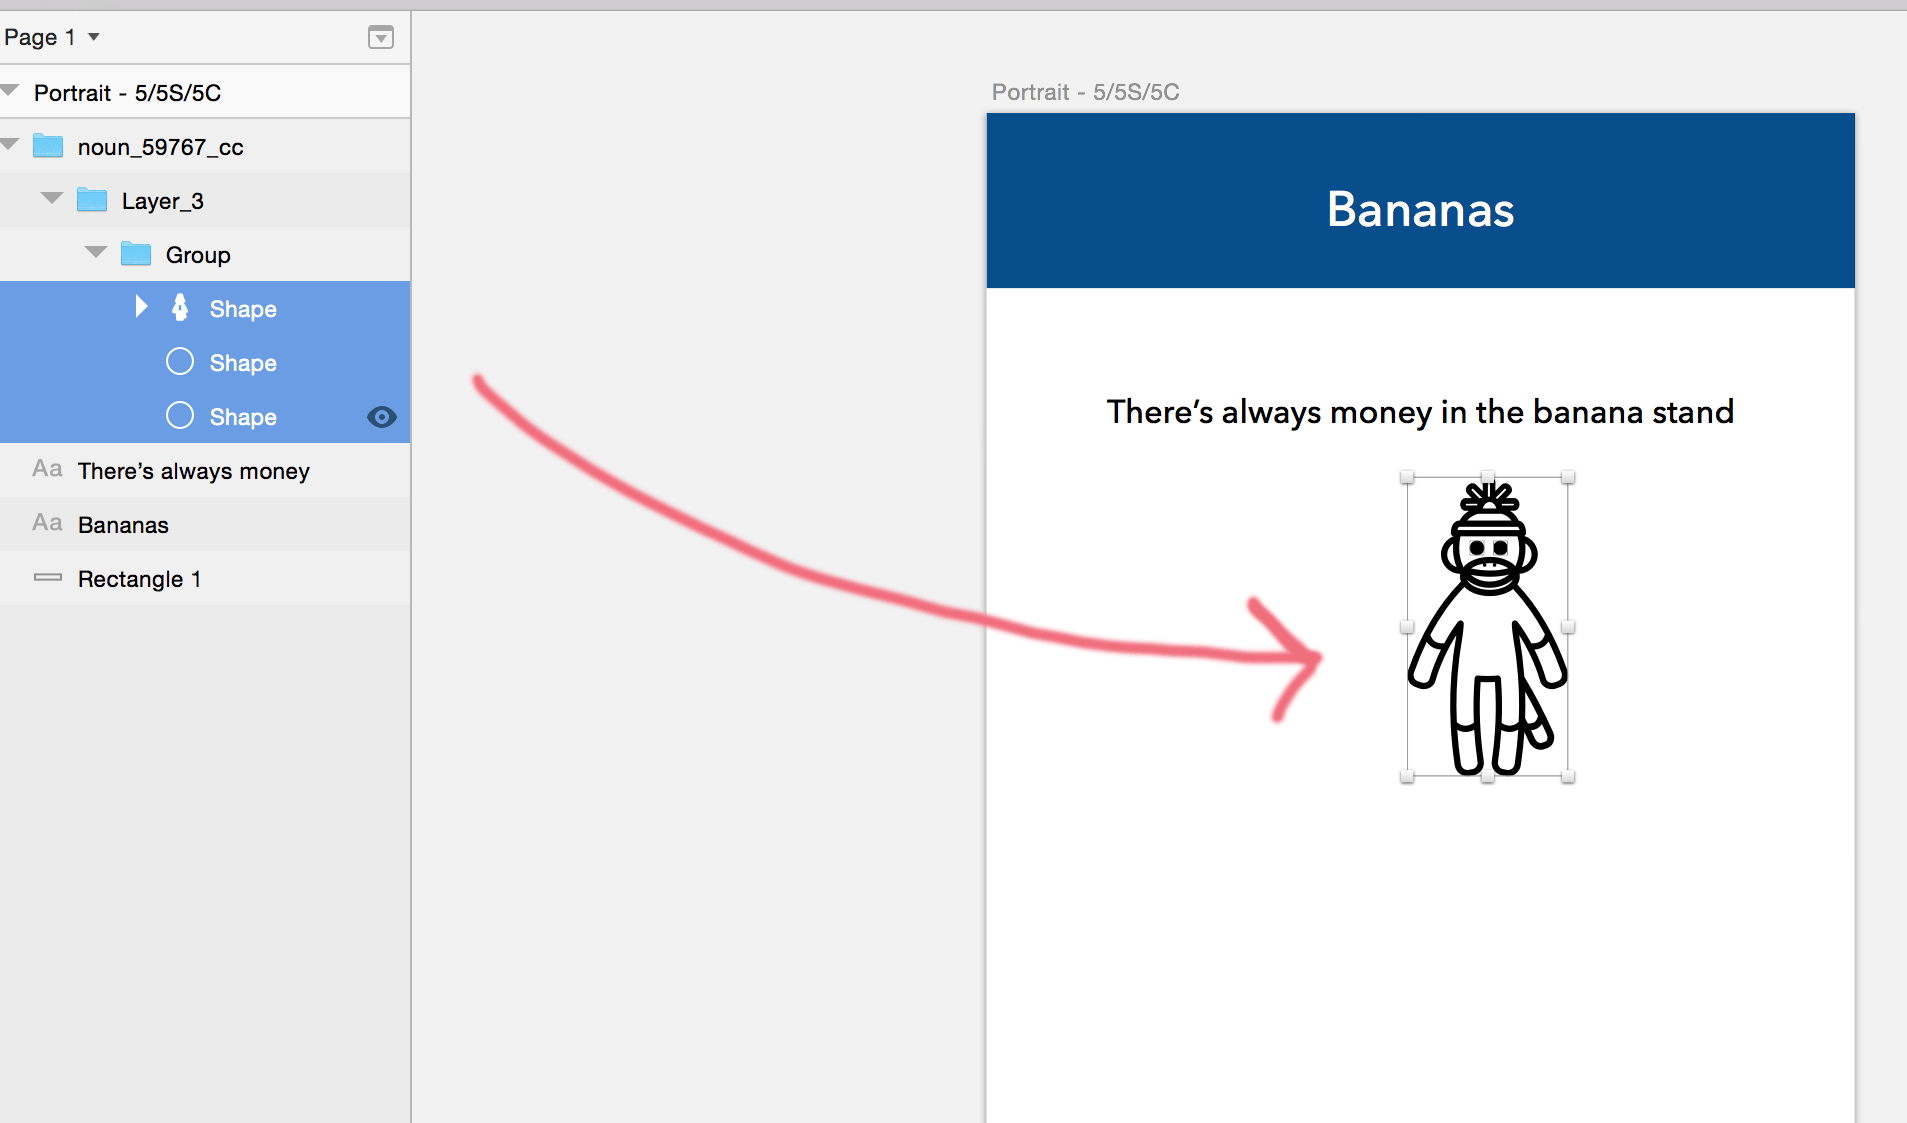
Now you have a should light blue monkey. To resize it, hold shift and move the cursor to the corner of the shape.

While holding down shift, drag the corner of the image until it is larger. Holding shift makes sure that the ratios of the image are consistent with the original scale.
Working with Artboards
The next thing we're going to do is change the name of the artboard. Right now it says "Portrait - 5/5S/5C", but we want something more specific because this will become the name of your exported PNG file. If you double click the artboard name in the layers window, it will select the name and allow you to type in whatever you want. I typed "Banana Stand"

Finally, I made a couple tweaks. I moved the text below the monkey. Then I centered everything using the align tools at the top of the inspector. Here is the result:

Now the exciting part starts! We can duplicate entire artboards very easily. Right click the artboard in the layers window and select "Duplicate". Or use shortcut ⌘ + D with the artboard selected (Hint: This also works for layers!).
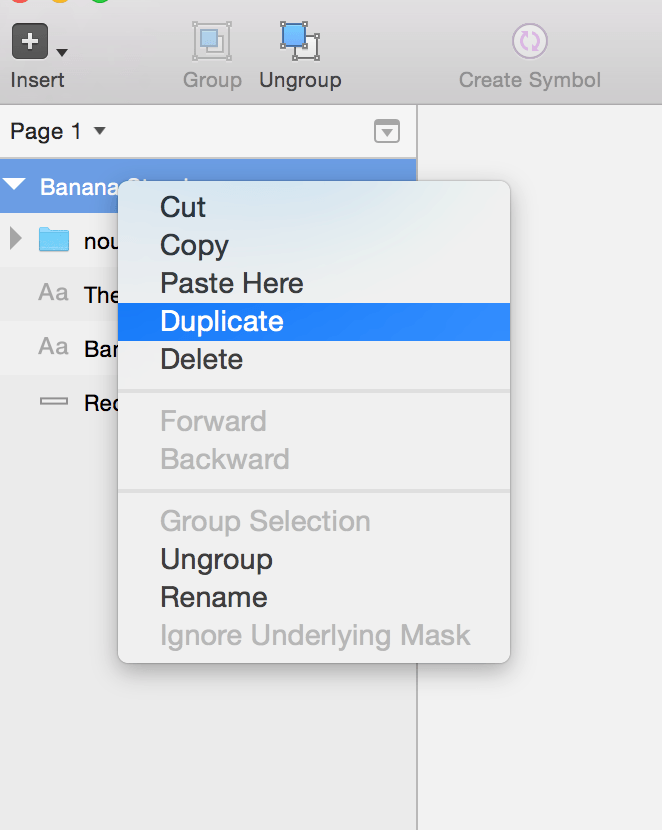
Sketch will create a duplicate artboard to the right of the original. Be sure to change your artboard names for each screen because this is the name Sketch will use when exporting your PNGs!
Shared Styles and Text Styles
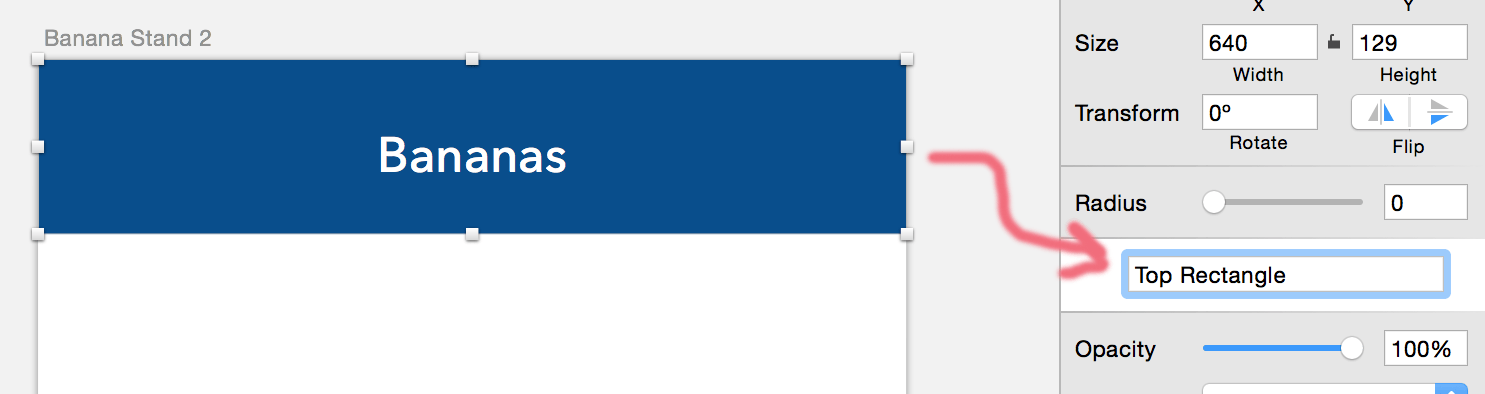
Shared styles allow you to change styles of multiple layers at once. To see how this works, let's start by selecting a single blue rectangle from any artboard. If you look at the Inspector on the right side, you will see a dropdown that says "No Shared Style".

Click on this dropdown, select "Create new Shared Style" and name it. I named this one "Top Rectangle"
Now select the other blue rectangle in your second artboard and apply the "Top Rectangle" style.

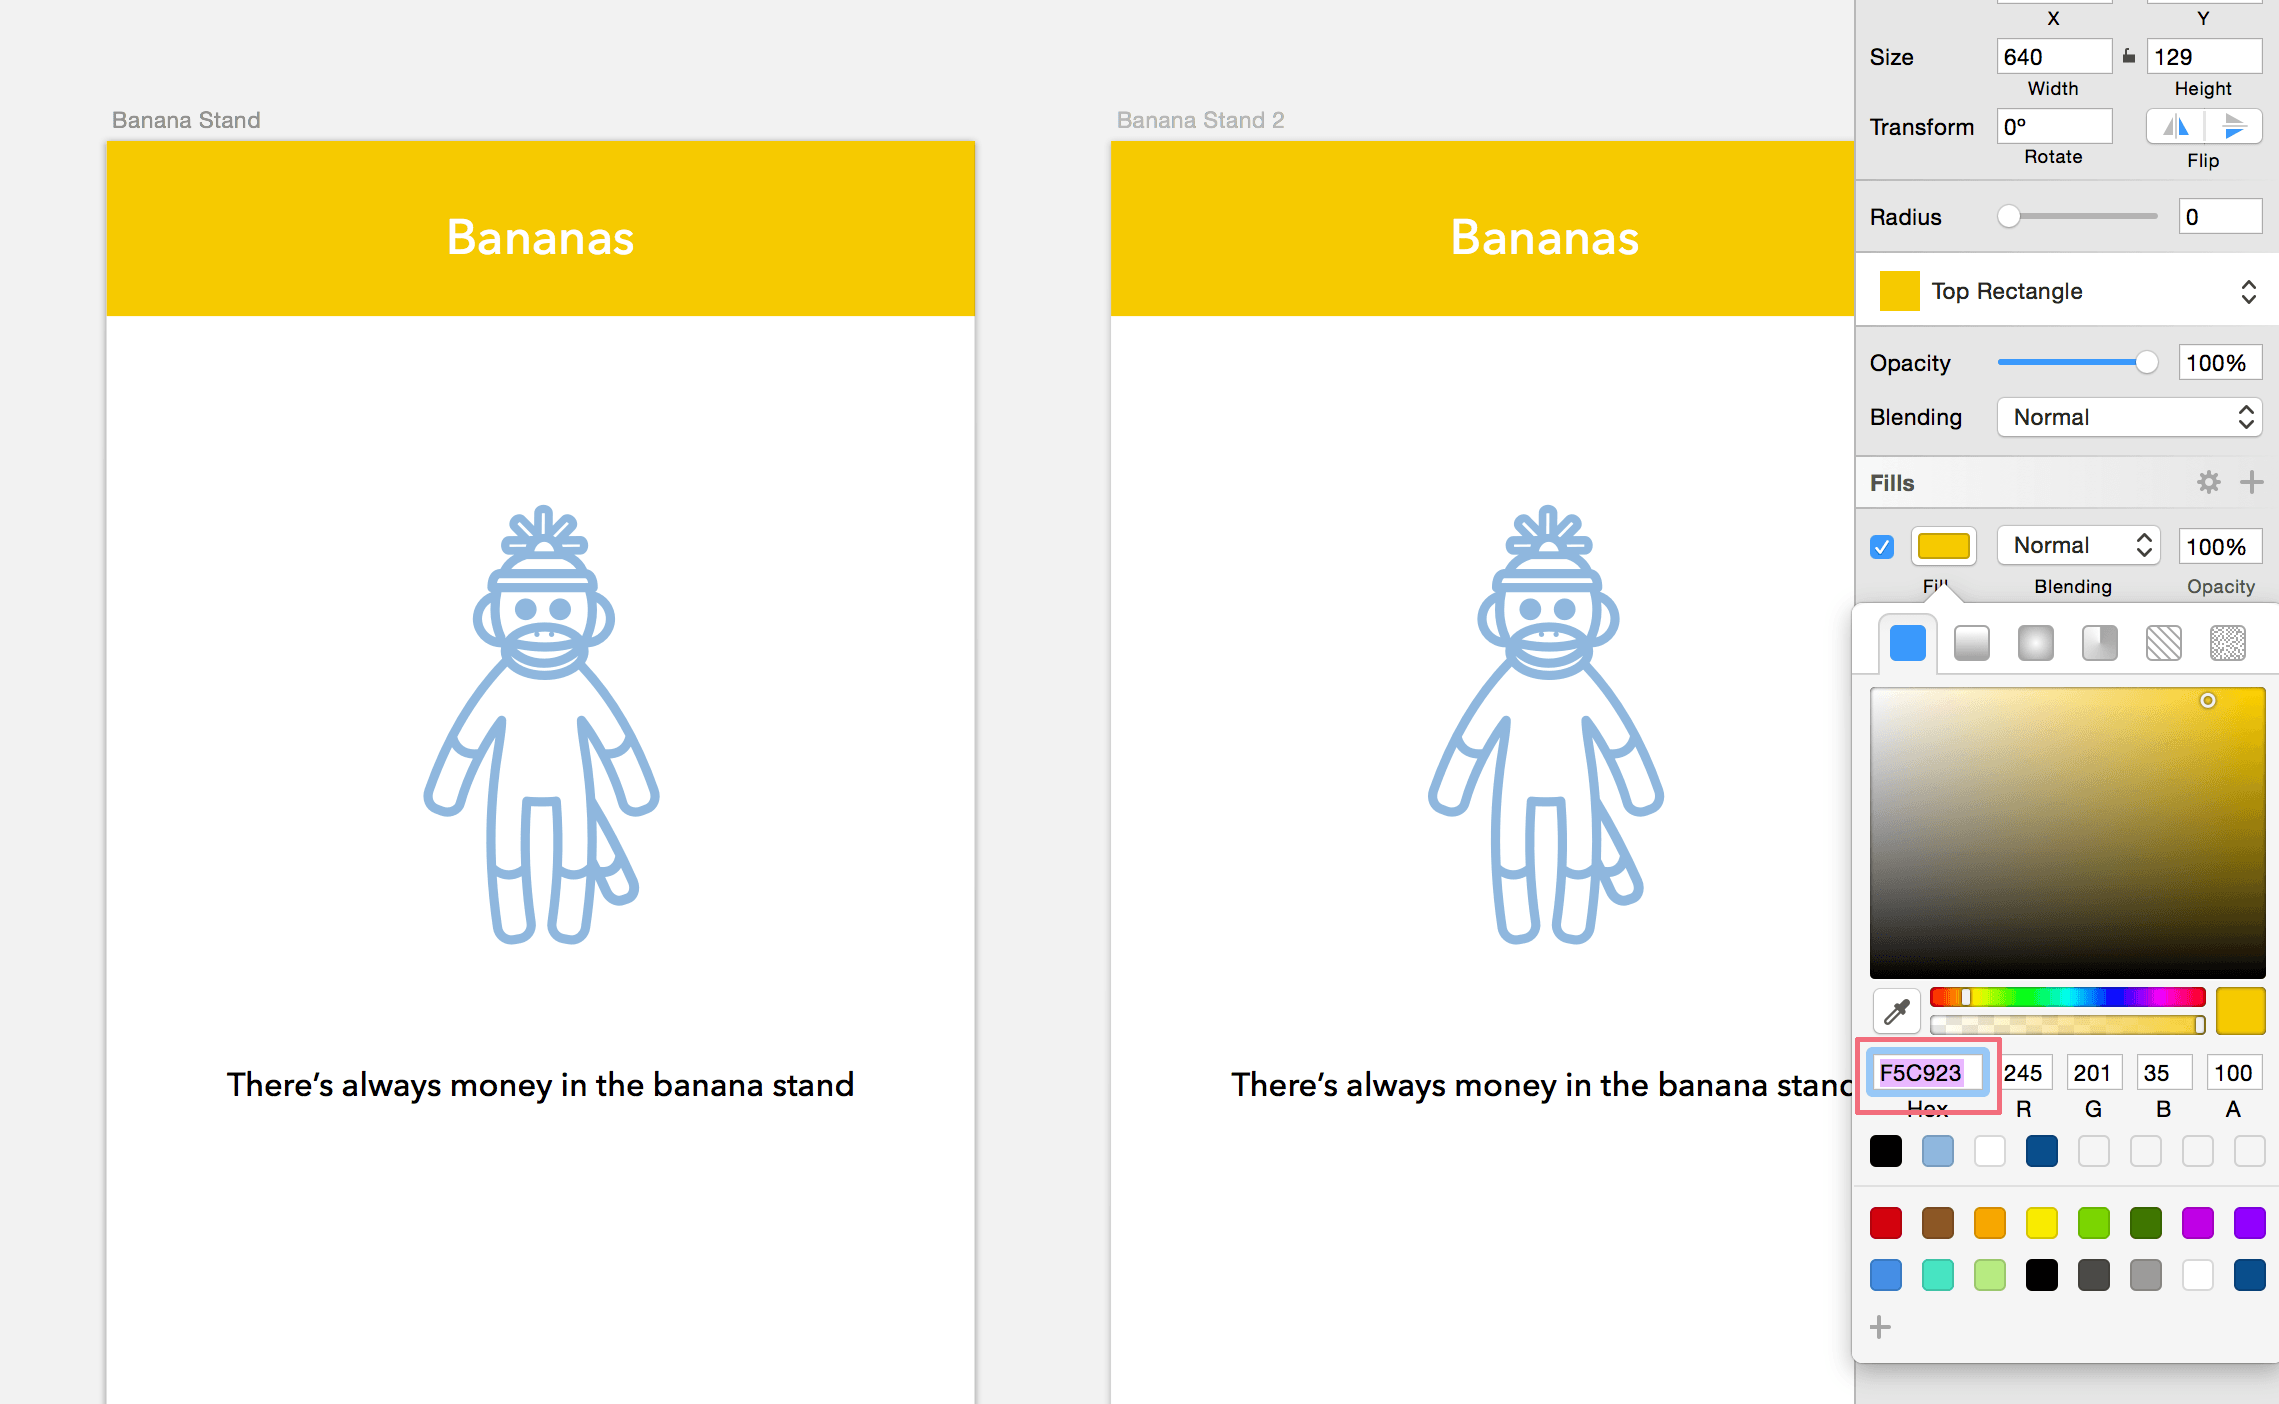
Now, this part is important: make sure you have only one rectangle selected, not both. Edit the fill to #F5C923.
What you've done here is change a shape with the "Top Rectangle" style, which affected two rectangles in your project. And guess what? You can also do this with text styles.
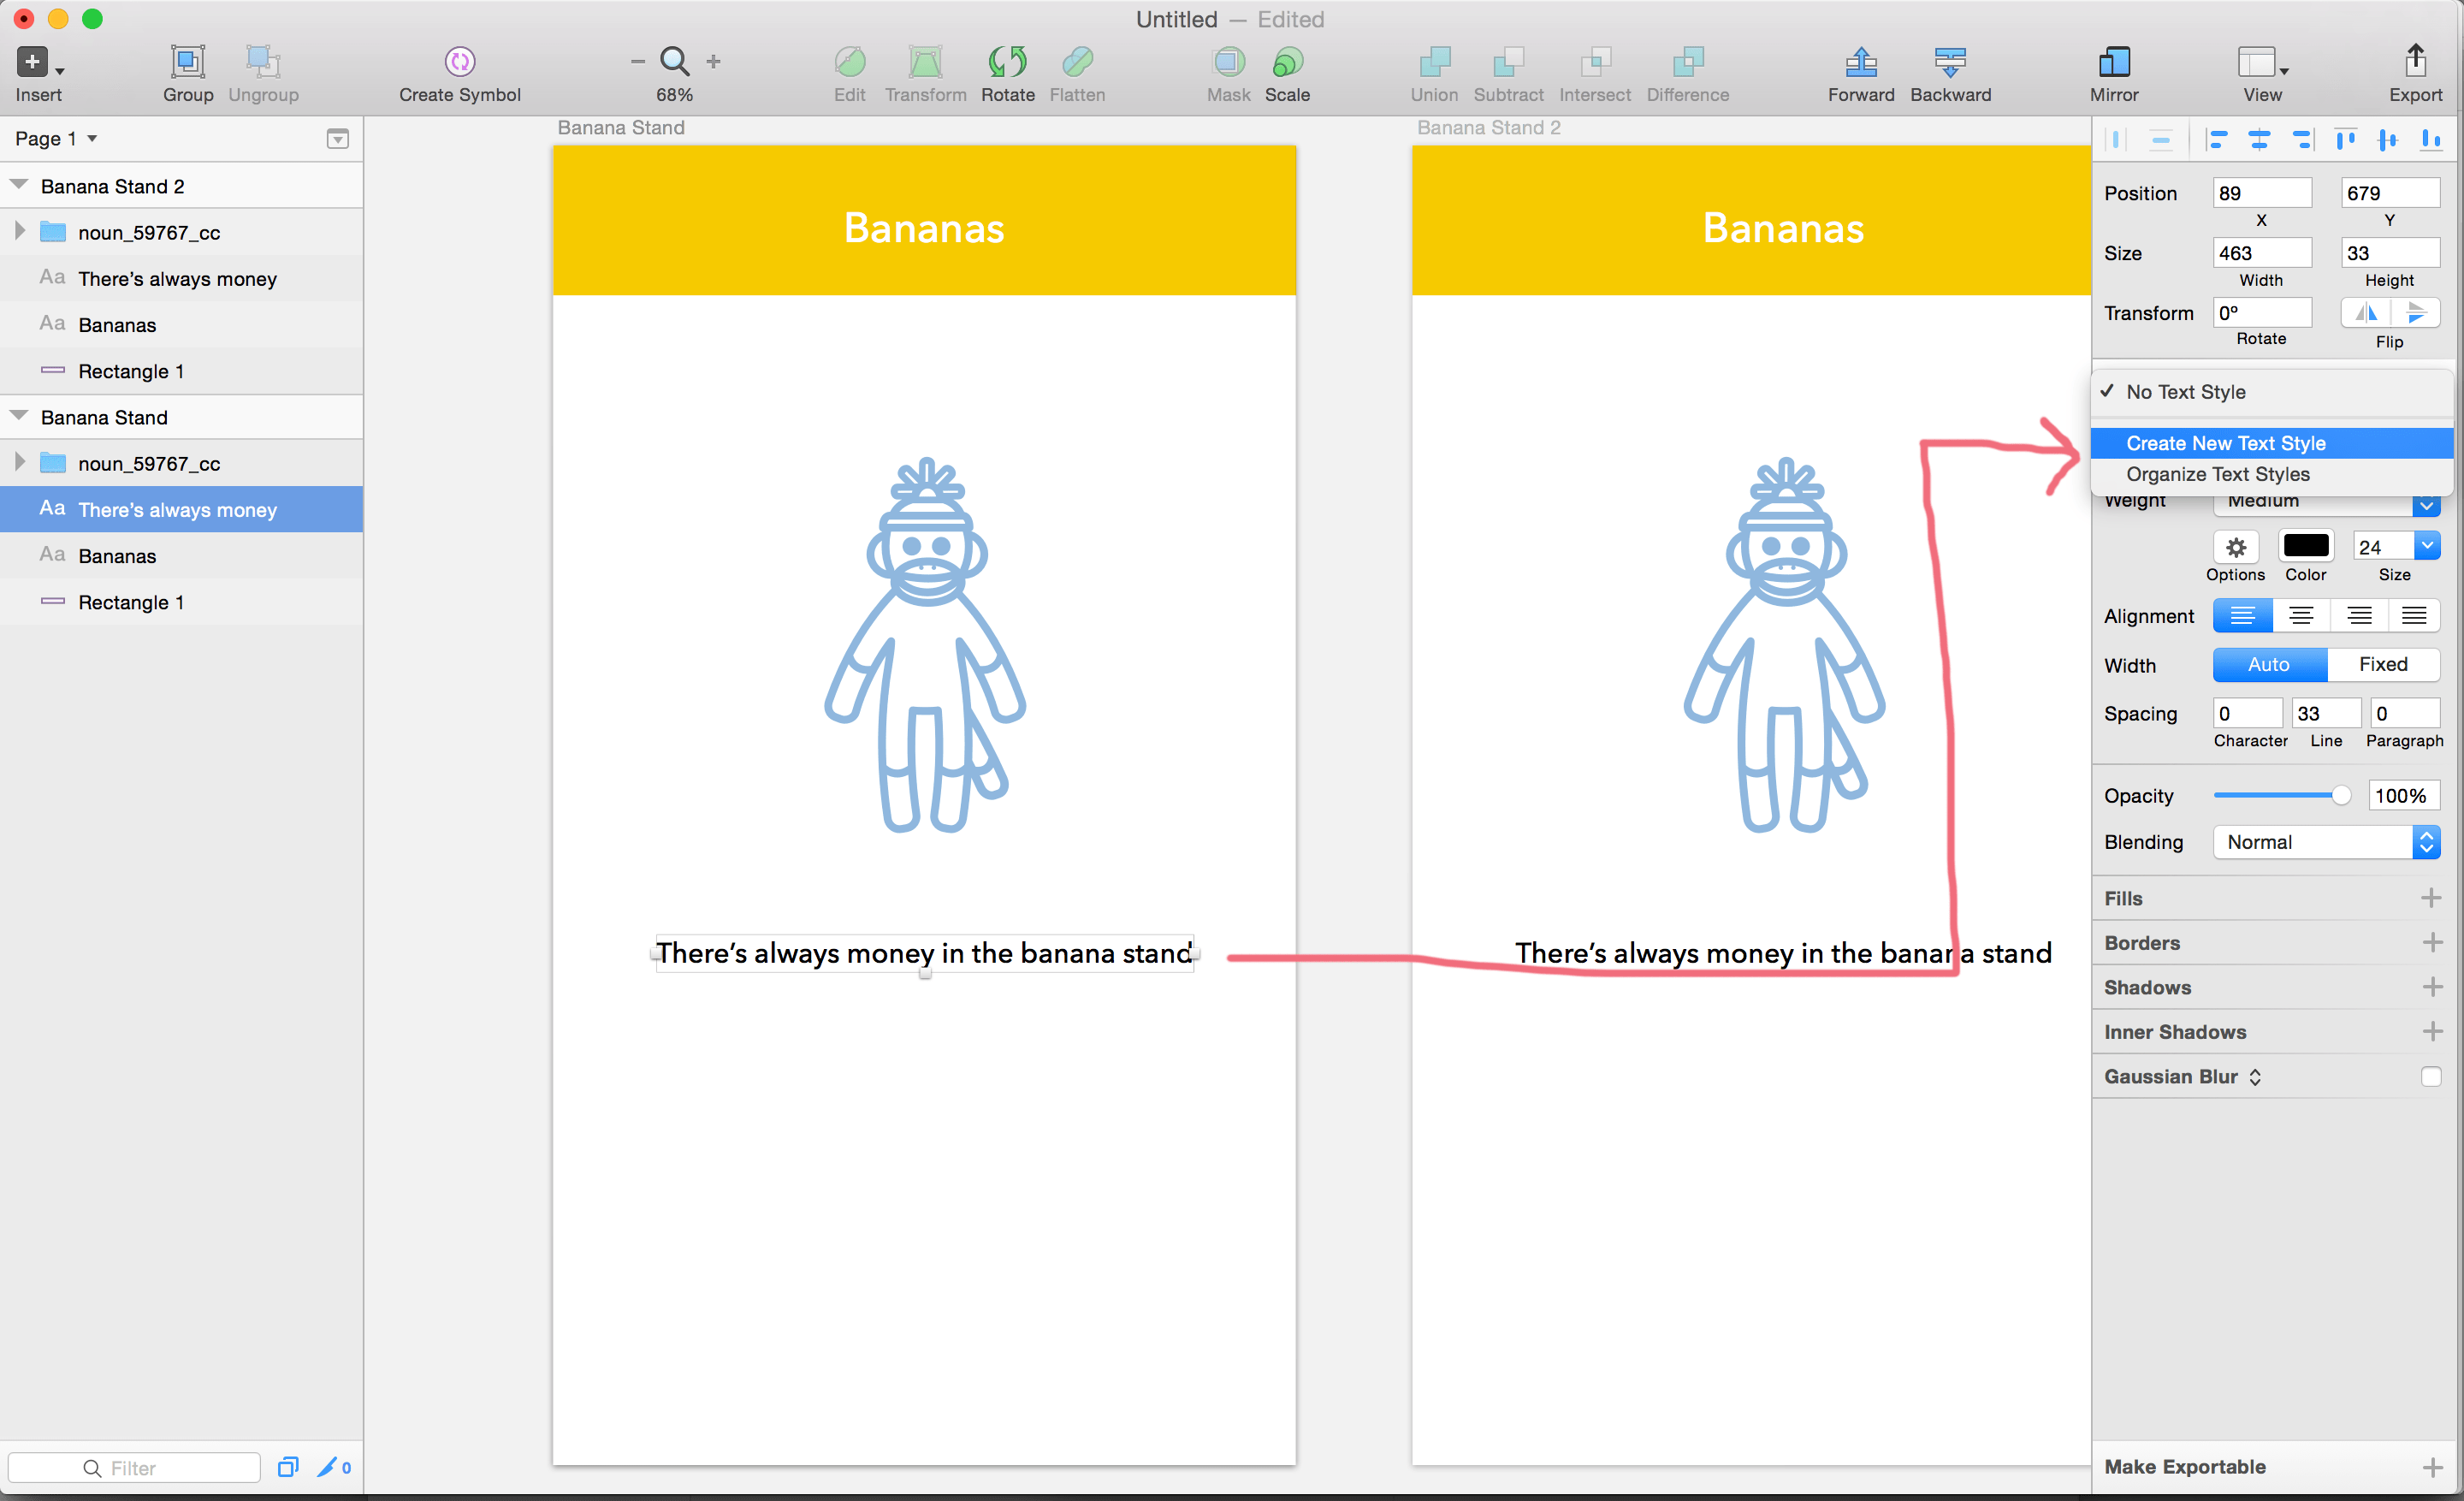
Select one of the lines of black text and create a new text style. I named mine "Body Text".

Now repeat what we did with the rectangle. Select the text on the second artboard and apply style "Body Text". Now we can see some more Sketch magic happen. By selecting only one text layer and changing the font weight to bold...

Yep, you guessed it! Both lines of text will change to bold, even though you only selected one.
You probably see where this is going. We're going to make a third style for the sock monkey icon. To do this, you must select the three individual layers within the layer group, like this:

Click "Create New Shared Style" and type in "Sock Monkey".

This time, we're going to do something a little different. Hold off on applying the style to the second monkey. First, let's change the color of this one to yellow #F5C923.

Next, select the other monkey by expanding the layer group and selecting the three layers that make up the icon. Then go to the Inspector on the right, select the Layer Styles dropdown, and select the "Sock Monkey" style you just created.

As you can see, the "Sock Monkey" style has been applied, changing our icon from blue to yellow.