Gradients in sketch
After learning the basics of Sketch, the next step is to learn more about color fill options. Learn how to create and modify gradients in Sketch 3, as well as load presets in your palette.
1. Set up your document
Create a new file and artboard in Sketch. (Shortcut: Just hit A)

Drag the artboard tool to create the size you want.

2. Create a shape
Insert > Shape > Rectangle or keyboard shortcut R.

I made my rectangle fill up the entire artboard.

3. Edit the shape

With your new shape selected, disable the border by unchecking this box.

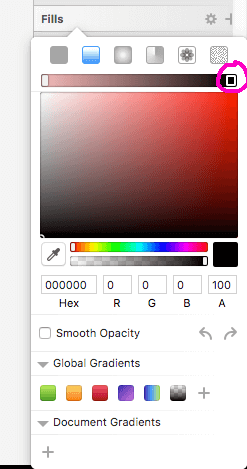
Click on the fill color and select "Linear Gradient" from the top row of icons.

Click any color in the new panel, and it will change the leftmost color first, replacing the default white with whatever color you choose. I chose #F3B1B1.
4. Change Colors
Now, let's get intentional about it.
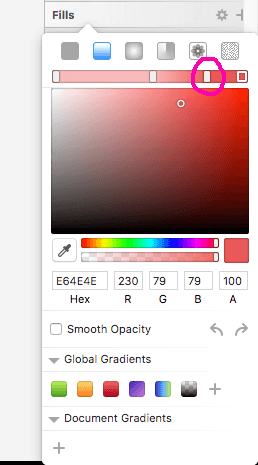
Click on the black color slider to edit it in the same way.

Now, select a different shade to edit the second gradient color. I selected #E64E4E.
5. Edit Direction & Color Stops

Without touching anything, turn your attention to your artboard. The selected layer should have two dots connected by a vertical line.

Now, drag the bottom dot upwards. This changes the end point of your gradient.

You can also drag this point sideways to change the direction, see?
By clicking in the center of the line, you can also create another color stop.

In the fill panel, change the color of this new color stop. This should edit the center point of your gradient. I selected #FBB1B1.

If you've selected the wrong color stop, you can select a different one in the fill panel or on the artboard itself.
Let's make another one. By clicking on the fill panel, you can also create new color stops. Now you should have four!

6. Deleting Color Stops

Select a color stop either on the artboard or the fill panel.

Hit delete on your keyboard. That's it!

Let's delete all but two color stops. Try out your skills in moving the direction and changing colors before moving on to the next step.
7. Radial Gradients
So far, we've been working with linear gradients. You should be pretty comfortable with this panel now.

To save your progress so far, click the + button at the bottom of this panel. This saves your gradient settings so they can be easily applied to any shape in your document.
If you want your custom gradient to show up any time you open Sketch, simply add it as a global gradient.
Hint: To delete a gradient swatch, simply drag it outside the panel. Poof!
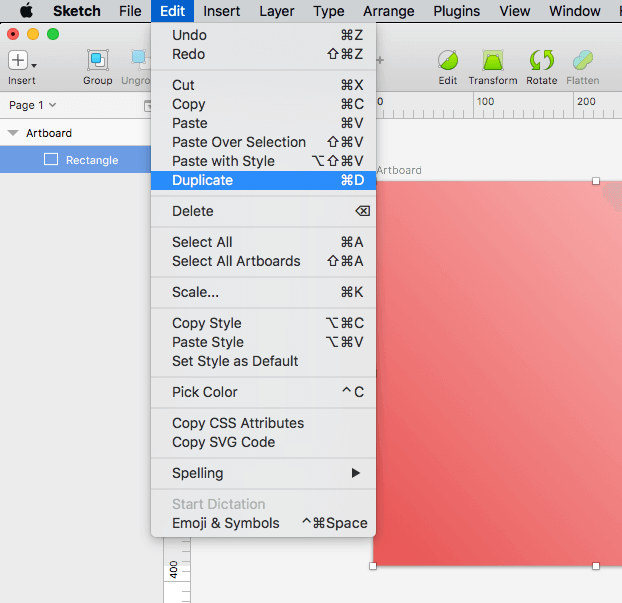
Now, to create a radial gradient layer, let's duplicate the rectange. With the layer selected, go to Edit > Duplicate or use shortcut cmd + D.
I always duplicate layers when experimenting—just in case.

In the fill panel, select radial gradient mode and see a huge circle appear.
The line that we edited for linear gradients has become the radius of a circle.

Let's change up the colors so that we can tell which layer is which. I picked #FD6BC4 for the leftmost color stop...
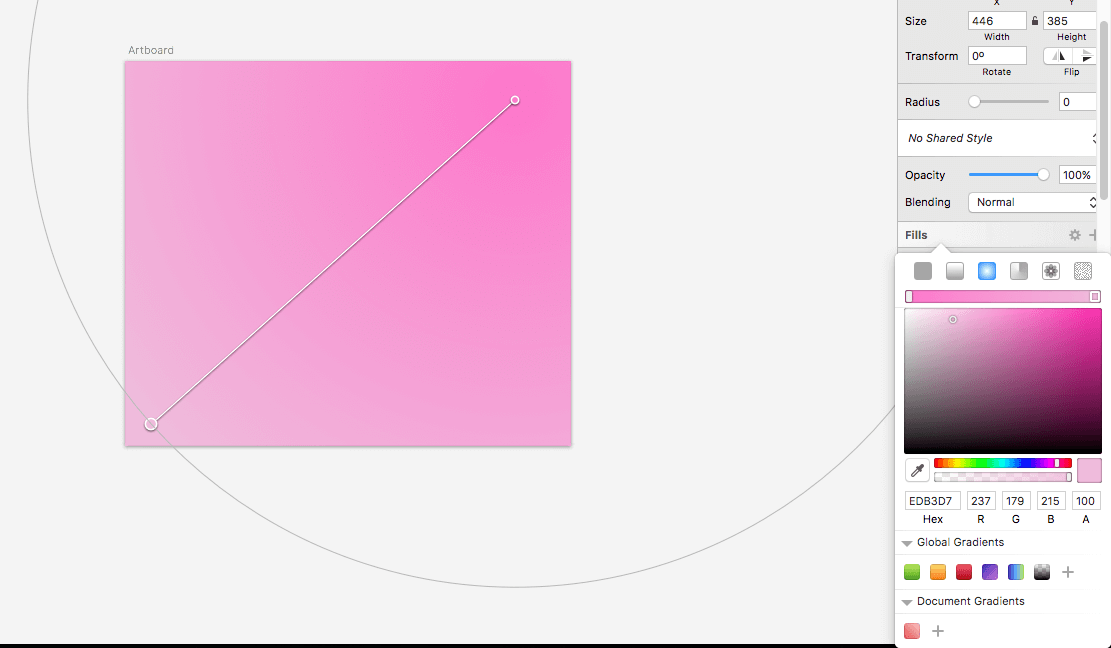
...and #EDB3D7 for the rightmost.

Now, let's experiment with opacity by dragging the alpha slider to the left. When you reduce the opacity of a color stop, it will make that color more transparent. This is different from changing the opacity of the entire layer because your other color stops can still be at 100% opacity.
You can also put your cursor in the A box and use the up and down arrows for fine tuning.

Ok, back to the artboard. Just like linear gradients, you can drag around the points to change the placement of the color stops.

You can click and drag the center of the circle to place it in a different location.

And finally, you can click and drag a point on the circumference in order to change the shape. Here, I've dragged and compressed to make an ellipse.
Notice that the color stops are still in operation, but the transition is rounded rather than linear.
All done!
We learned how to manipulate linear and radial gradients, and how to save and modify gradient swatches. Hope that was helpful!
Have a request for a tutorial? Is there a design problem you can't quite figure out? Request an answer here.